Monday, September 30, 2013

October Unprocessed 2013

So starting tomorrow I'm beginning a new food challenge.  

October Unprocessed

This is a food challenge from Andrew Wilder over at http://www.eatingrules.com/

The rules are easy - nothing with processed ingredients and nothing that you couldn't make in your own kitchen!  If it has a label, it needs to be something that a person with reasonable kitchen skill could make at home.  It doesn't mean not eating out...but it means making whole food choices when you do. 

I have been making some not-so-great food choices lately and a challenge like this is JUST what I need to get back on track!  

I know I can do this - for a lot of reasons!
  • There are lots of resources online
  • I have several friends jumping into the challenge
  • I'm going to post pictures and recipes here, on Instagram and use social media pressure/praise to stay on track
  • Unprocessed is very similar to Paleo, so it's not a new way of eating, just a re-commitment to what I know works for me and what makes me feel so much better! 

Here we go!  The challenge starts tomorrow!  

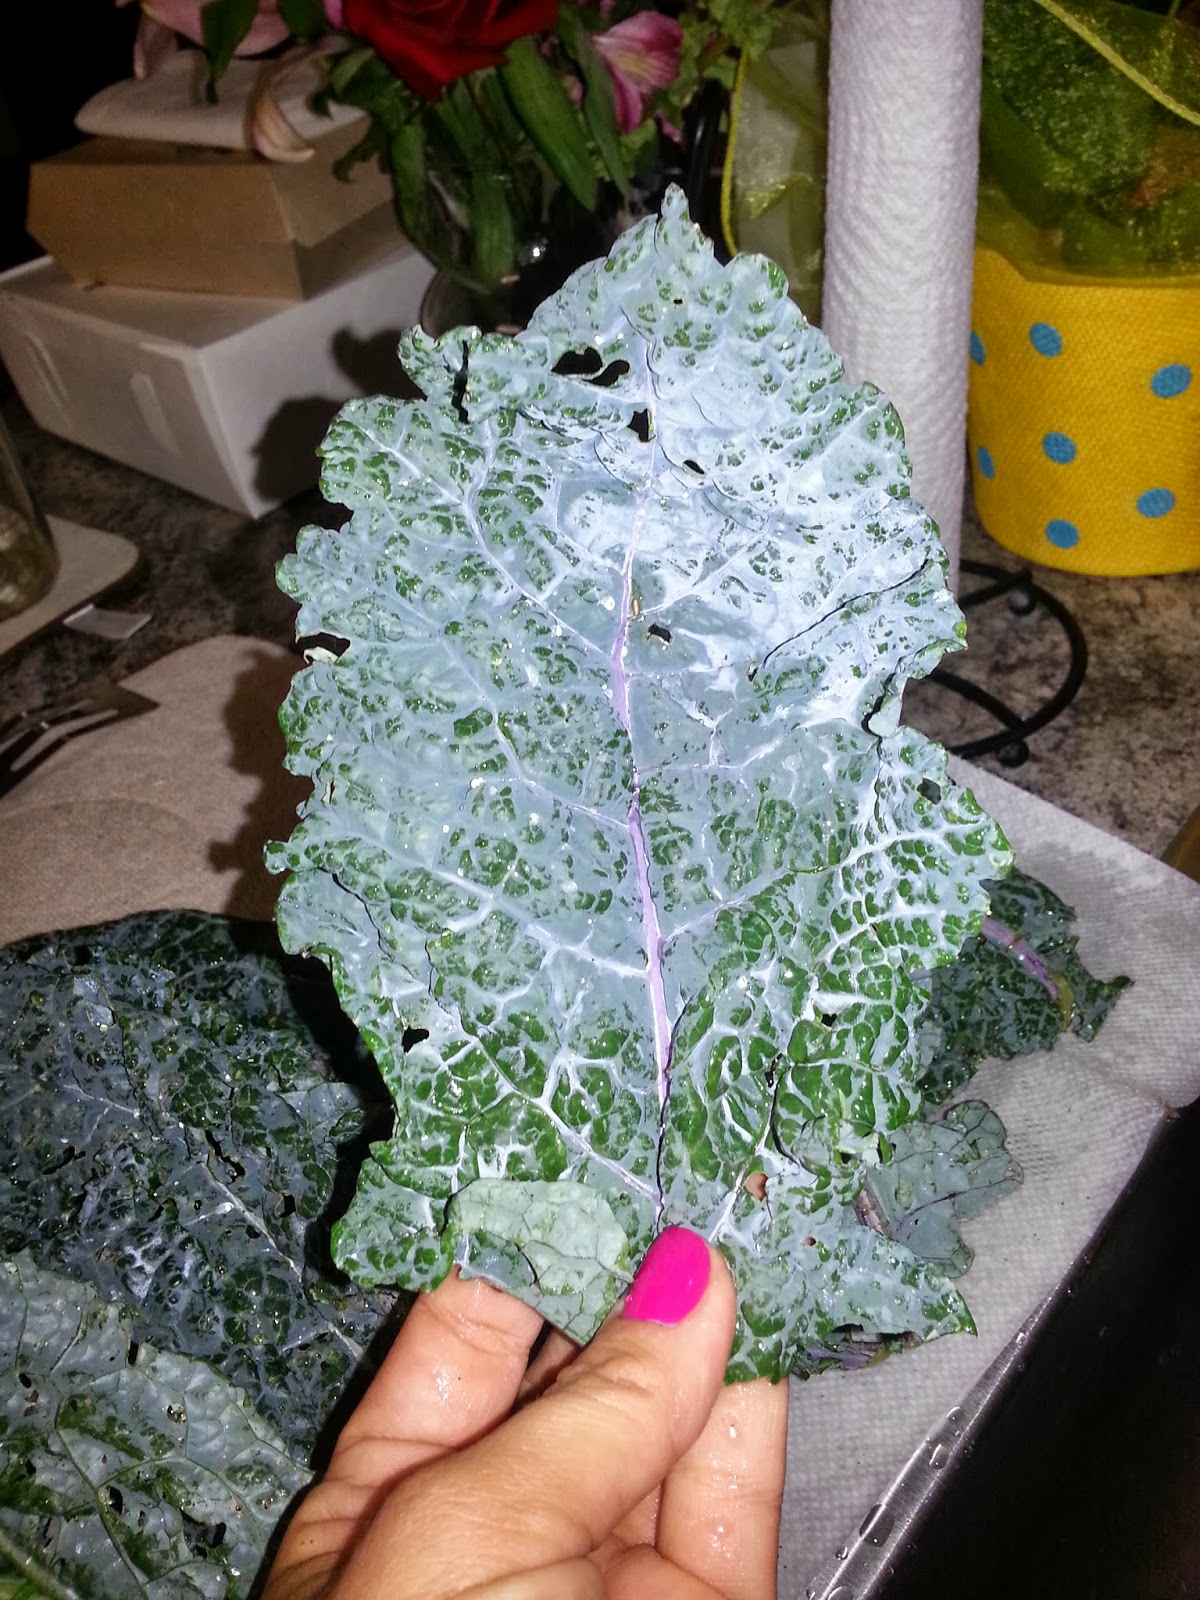
In preparation, I grocery shopped yesterday and I did my version of meal planning - get the ingredients for certain go-to dishes that I can choose from on the fly this week. 


Here is my favorite part from the official guide: 
"The best way to succeed in this challenge is to be clear about what you want to accomplish. If you already eat pretty well, maybe this month is the time to buckle down and toss those last few packages skulking around the pantry. If you aren’t there yet, maybe cutting out high fructose corn syrup or just vending machine food is your first step. Or maybe Sunday dinners will be unprocessed, but the work week won’t change much. 

DO WHAT WORKS FOR YOU. No matter what your goal, even if it’s small, please join us and take the pledge. 

So, what's your intention? Write it here and make it official! 


My intention for the October Unprocessed challenge...."

My intention is this - clean up my eating and do what I know is best.  I will cut out dairy again and cut back on sweets and fruits.  Absolutely no grain or corn - being honest, corn is one of those I've been allowing in more and more.

Saturday, September 28, 2013

Varieties of Kale - Who Knew?!

A few weekends ago I went to the market at Eastern Market, in Washington DC.  We found so many great things - jewelry, shabby chic furniture and home decor, and delicious fresh produce!  My favorite was this brightly colored display:


But the food vendors were exciting too!


 (my treasure!   Heirloom tomatoes, white peaches, spaghetti squash, green beans, kale and basil)


I came home with a pound of kale - four different varieties.  I googled and found out that I had two varieties of Dinosaur Kale and two varieties of Curly Kale.  I made kale chips with both ... and kale greens with both, to compare their textures and flavors.

Curly kale and Curly kale with purple ribs!


Dinosaur kale and dinosaur kale with purple ribs!

The dinosaur kale is much thicker and a firmer texture than the curly kale.  It worked beautifully for the chips since it lays flat already.  In the kale greens, it needed to cook much longer to become tender.

The curly kale (most of what you find in the grocery store and farmers' markets) is perfect for the kale greens.  For chips, they don't lay as flat but get a lot of crunch.

I would probably not buy dinosaur kale again - it was a little more bitter than the curly kale too.

Inexpensive DIY Charging Station

I now have a work phone, a personal phone and an iPad that I am charging most nights.  I have three different cords (of different lengths) plugged in and I am sick of the cord mess.

I spent some time looking at "Charging Valets" and other pre-made solutions, but they were all around $40 and didn't seem to fit what I needed.

So of course, I turned to Pinterest!  I found lots of great ideas using stationery boxes, but again, those were expensive, even at Marshalls.

Here is what I came up with and I love it!

It was so easy (and inexpensive).

First, I bought a surge protector (2 for 4.99) and a 99 cent Sterilite shoebox. I used a drill bit to poke holes in the top of the plastic lid and make them "just big enough" for the power charger ends to poke through.   Make a hole in one end of the box for the plug for the power strip. These were NOT pretty...some were too big, some were uneven.

Tuck the power strip inside, plug your cords in and thread them through the holes in the top.


Cut scrapbook paper to cover the top, and very neatly cut holes in the paper.  Cut strips of paper to 3 x 12 to get the band of paper at the bottom to cover cords.  I used Close To My Heart's Liquid Glass as the adhesive.


Sunday, September 15, 2013

Spinach Chips!

So you all know that I'm a huge fan of Kale chips.  On Pinterest last week I saw this pin with directions to make spinach chips.   The poster claimed they would beat kale chips hands down...and I had to see for myself!

Of course I had to tweak the recipe some, so here is what I did.

I started with organic spinach and left it in the plastic box it came in.  
In a ramekin, I melted one TBSP coconut oil and mixed in my seasonings - salt, pepper, oregano and rosemary.   
I poured the seasoned coconut oil into the box with the spinach leaves and shook like crazy.   
I picked out big, strong spinach leaves and laid them in a single layer on foil-covered cookie sheets.

Bake them in the oven at 325 for 8 minutes. Let them cool for about 5 minutes to "crisp."
  
Use a spatula or cake-lifter to carefully pick up the chips off the foil.  

Place them in a bowl and enjoy!

Now - I have made two sets of these (4 pans total) and I dont think they are as hearty as the kale chips I love.  They are much thinner and nearly see through!   The original post says to serve with a dip, but I had a hard time even picking them up without them crackling apart.  

Definitely not a fail....but not my favorite.

Sunday, September 8, 2013

Paleo Pulled BBQ Pork in the Crockpot

So most of what I found online about making pulled pork in the crock pot had junky ingredients like a bottle of ketchup (hello corn syrup!) or barbeque sauce (lots of chemicals and preservatives in most of those, plus a lot of sweet!)

So I read what they wanted me to add and I checked my cabinet to see what I had, and here is what I came up with.   This is a result of lots of recipes smooshed together PLUS an emptier than usual spice rack.


  • 1/2 pint of homemade tomato basil sauce (I use this BHG recipe and leave out the brown sugar).  You can sub any low-sugar tomato sauce.  Just watch for sneaky sugar added to them.
  • 1 small can of tomato paste (make sure it has nothing but tomatoes in it)
  • 3-4 tsps of hot sauce (I like cholula or tabasco.  For this I chose the vinegary tabasco)
  • fresh ground pepper - i just grind it into the sauce.  about a tsp I think
  • about 1.5 TBSP chili powder
  • about 1 tsp ground cayenne paper
  • about 2 tbsp of honey
  • 3 cups of apple cider (divided)

Mix 1 cup of apple cider with all of the other ingredients. Stir well with a spoon or whisk to make sure the tomato paste is dissolved in the cider.   Add the other two cups of cider and stir.

Add about 4-5 lbs of pork.   Most recipes call for Pork Shoulder, but Pork Sirloin Roast was on sale and cheaper per pound - so that's what I used this time!  Try to get as much of the meat under the sauce as possible.


Turn your crockpot on to high and bring it to a simmer.  Turn on low if you need to cook it longer.  It should take 4-6 hours.  Mine took just about 6 hours to get to the right internal temperature.  I checked at 4 and at 5...almost to 6 was the perfect time.  You don't want to open your crockpot too much and let the heat and steam out.

Pork is done when it reaches an internal temperature of 170 degrees.  Use your meat thermometer to check before you start shredding.

To shred the meat, break off a hunk of the roast that fits easily in a serving or mixing bowl with deep sides.  Use two forks to "shred" and pull the meat apart.  Break it up as much as you can.  By the time I shredded all the pork (mine was a little over 5 lbs) my hands were tired from holding those forks!


Before you put your shredded meat back in, use a 1 cup measuring cup and dip off all the sauce but about 1 - 1.5 cups.   Put it in a heavy saucepan and boil it to reduce and thicken while you shred the rest of the meat!  This is a terrible picture, but my sauce is reducing and boiling away, I promise.   I reduced mine to about 1/3 of what I started with.  It took about 12 minutes of boiling to thicken and reduce.


Add your thickened sauce and the shredded pork to the crockpot and cook on low for another 30 minutes to get all the flavors mixed together.

Serve on lettuce wraps (or in hearts of romaine lettuce boats) or on salads or mix into your breakfast omelets!   There are so many ways to serve (without a pulled pork sandwich bun!) and it is so easy and low-maintenance to make that I made a lot more than I'd normally make.  I'm planning to use this as my meat dish for several meals this week.  I start a new job tomorrow and I have a late night meeting on Wednesday, so I honestly have no idea what level of tired I will be after work.  I tend to make bad choices with my eating when I am super tired and not willing to cook.  So I strategically prepared this huge hunk of meat this week and bought lots of easy to prep veggies and fruit so I will be ready!